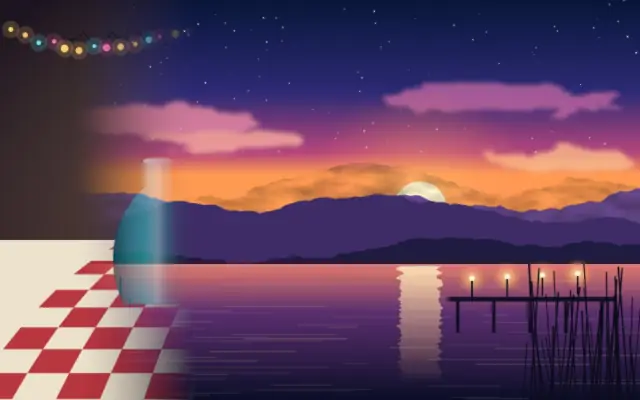
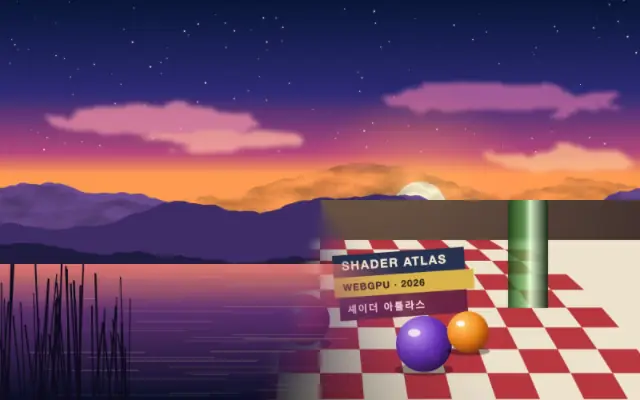
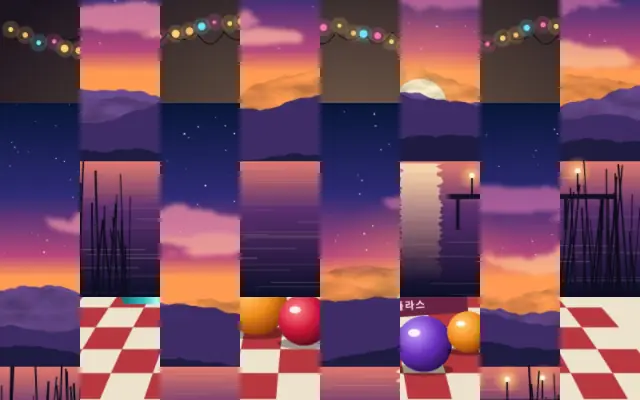
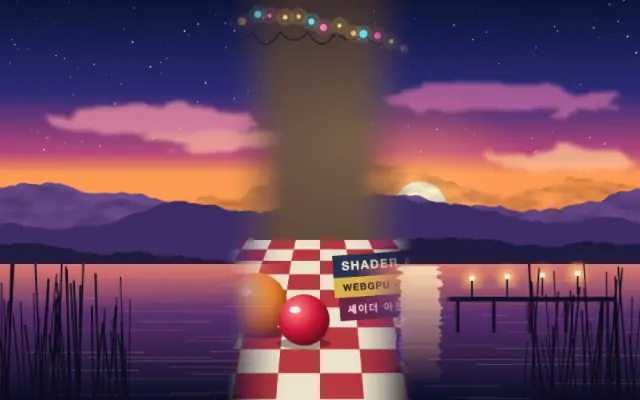
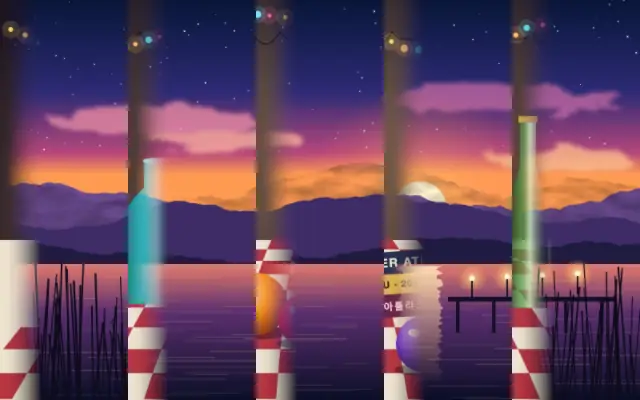
React Vue Svelte Solid JavaScript 컨트롤 값이 반영된 코드입니다
// WebGPU 를 지원하는 브라우저에서만 그립니다.
// /samples/… 는 이 사이트의 샘플 파일입니다. 내 프로젝트의 이미지·영상 경로로 바꾸세요.
import { Shader, ImageTexture, LinearWipe } from 'shaders/react'

export default function ShaderEffect() {
  return (
    <Shader style={{ width: '100%', height: 320 }} disableTelemetry>
      <ImageTexture
        objectFit="cover"
        url="/samples/still.jpg" />
      <LinearWipe
        progress={{
          type: "auto-animate",
          mode: "ping-pong",
          outputMin: 0,
          outputMax: 1,
          speed: 0.5
        }}>
        <ImageTexture
          objectFit="cover"
          url="/samples/photo.jpg" />
      </LinearWipe>
    </Shader>
  )
}<!-- WebGPU 를 지원하는 브라우저에서만 그립니다. -->
<!-- /samples/… 는 이 사이트의 샘플 파일입니다. 내 프로젝트의 이미지·영상 경로로 바꾸세요. -->
<script setup lang="ts">
import { Shader, ImageTexture, LinearWipe } from 'shaders/vue'
</script>
<template>
<Shader style="width: 100%; height: 320px" :disable-telemetry="true">
<ImageTexture
object-fit="cover"
url="/samples/still.jpg"/>
<LinearWipe
:progress="{
type: 'auto-animate',
mode: 'ping-pong',
outputMin: 0,
outputMax: 1,
speed: 0.5
}">
<ImageTexture
object-fit="cover"
url="/samples/photo.jpg"/>
</LinearWipe>
</Shader>
</template><!-- WebGPU 를 지원하는 브라우저에서만 그립니다. -->
<!-- /samples/… 는 이 사이트의 샘플 파일입니다. 내 프로젝트의 이미지·영상 경로로 바꾸세요. -->
<script>
import { Shader, ImageTexture, LinearWipe } from 'shaders/svelte'
</script>
<Shader style="width: 100%; height: 320px" disableTelemetry>
<ImageTexture
objectFit="cover"
url="/samples/still.jpg" />
<LinearWipe
progress={{
type: "auto-animate",
mode: "ping-pong",
outputMin: 0,
outputMax: 1,
speed: 0.5
}}>
<ImageTexture
objectFit="cover"
url="/samples/photo.jpg" />
</LinearWipe>
</Shader>// WebGPU 를 지원하는 브라우저에서만 그립니다.
// /samples/… 는 이 사이트의 샘플 파일입니다. 내 프로젝트의 이미지·영상 경로로 바꾸세요.
import { Shader, ImageTexture, LinearWipe } from 'shaders/solid'
export default function ShaderEffect() {
return (
<Shader style={{ width: '100%', height: '320px' }} disableTelemetry>
<ImageTexture
objectFit="cover"
url="/samples/still.jpg" />
<LinearWipe
progress={{
type: "auto-animate",
mode: "ping-pong",
outputMin: 0,
outputMax: 1,
speed: 0.5
}}>
<ImageTexture
objectFit="cover"
url="/samples/photo.jpg" />
</LinearWipe>
</Shader>
)
}// WebGPU 를 지원하는 브라우저에서만 그립니다.
// /samples/… 는 이 사이트의 샘플 파일입니다. 내 프로젝트의 이미지·영상 경로로 바꾸세요.
// <canvas id="canvas" style="width:100%;height:320px"></canvas> 가 페이지에 있어야 한다
import { createShader } from 'shaders/js'
const shader = await createShader(document.getElementById("canvas"), {
components: [
{
type: 'ImageTexture',
props: {
objectFit: 'cover',
url: '/samples/still.jpg',
},
},
{
type: 'LinearWipe',
props: {
progress: {
type: 'auto-animate',
mode: 'ping-pong',
outputMin: 0,
outputMax: 1,
speed: 0.5
},
},
children: [
{
type: 'ImageTexture',
props: {
objectFit: 'cover',
url: '/samples/photo.jpg',
},
},
],
}
]
}, { disableTelemetry: true })