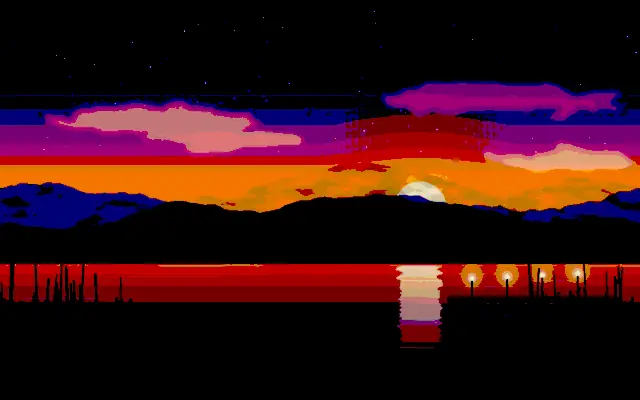
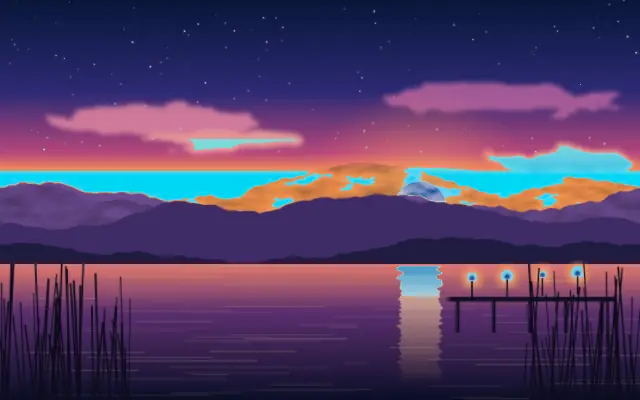
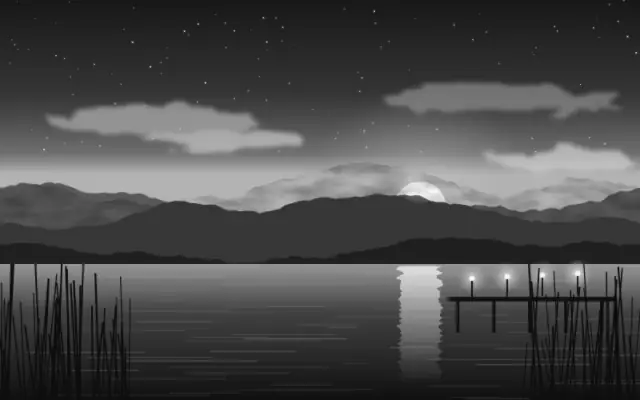
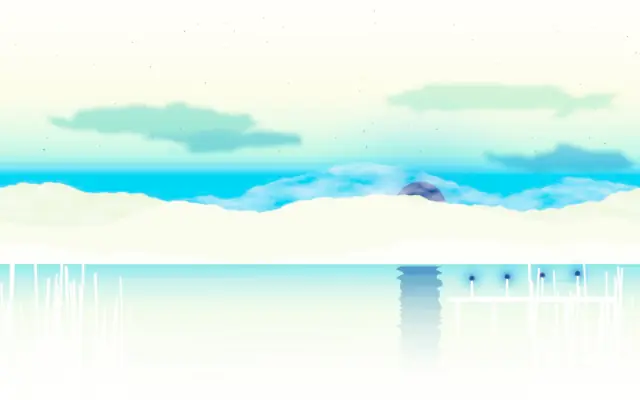
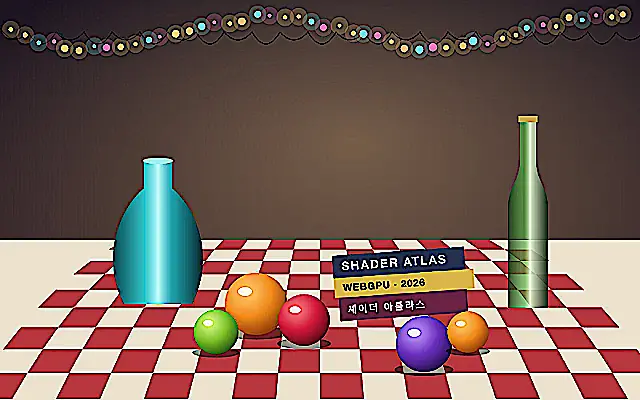
Posterize reduces the number of visible color levels for a flat poster-like image.
Also known as: Posterizeposterization
Moves in browsers that support WebGPU
This device could not render the demo — showing a still
Code reflects the control values
React
// Renders only in browsers with WebGPU.
// /samples/… are this site’s sample files — point them at your own image or video.
import { Shader, ImageTexture, Posterize } from 'shaders/react'

export default function ShaderEffect() {
  return (
    <Shader style={{ width: '100%', height: 320 }} disableTelemetry>
      <ImageTexture
        objectFit="cover"
        url="/samples/photo.jpg" />
      <Posterize
        intensity={{
          type: "auto-animate",
          mode: "ping-pong",
          outputMin: 3,
          outputMax: 10,
          speed: 0.6
        }} />
    </Shader>
  )
}
Vue
<!-- Renders only in browsers with WebGPU. -->
<!-- /samples/… are this site’s sample files — point them at your own image or video. -->
<script setup lang="ts">
import { Shader, ImageTexture, Posterize } from 'shaders/vue'
</script>

<template>
  <Shader style="width: 100%; height: 320px" :disable-telemetry="true">
    <ImageTexture
      object-fit="cover"
      url="/samples/photo.jpg"/>
    <Posterize
      :intensity="{
        type: 'auto-animate',
        mode: 'ping-pong',
        outputMin: 3,
        outputMax: 10,
        speed: 0.6
      }"/>
  </Shader>
</template>
Svelte
<!-- Renders only in browsers with WebGPU. -->
<!-- /samples/… are this site’s sample files — point them at your own image or video. -->
<script>
  import { Shader, ImageTexture, Posterize } from 'shaders/svelte'
</script>

<Shader style="width: 100%; height: 320px" disableTelemetry>
  <ImageTexture
    objectFit="cover"
    url="/samples/photo.jpg" />
  <Posterize
    intensity={{
      type: "auto-animate",
      mode: "ping-pong",
      outputMin: 3,
      outputMax: 10,
      speed: 0.6
    }} />
</Shader>
Solid
// Renders only in browsers with WebGPU.
// /samples/… are this site’s sample files — point them at your own image or video.
import { Shader, ImageTexture, Posterize } from 'shaders/solid'

export default function ShaderEffect() {
  return (
    <Shader style={{ width: '100%', height: '320px' }} disableTelemetry>
      <ImageTexture
        objectFit="cover"
        url="/samples/photo.jpg" />
      <Posterize
        intensity={{
          type: "auto-animate",
          mode: "ping-pong",
          outputMin: 3,
          outputMax: 10,
          speed: 0.6
        }} />
    </Shader>
  )
}
JavaScript
// Renders only in browsers with WebGPU.
// /samples/… are this site’s sample files — point them at your own image or video.
// expects <canvas id="canvas" style="width:100%;height:320px"></canvas> on the page
import { createShader } from 'shaders/js'

const shader = await createShader(document.getElementById("canvas"), {
  components: [
    {
      type: 'ImageTexture',
      props: {
        objectFit: 'cover',
        url: '/samples/photo.jpg',
      },
    },
    {
      type: 'Posterize',
      props: {
        intensity: {
          type: 'auto-animate',
          mode: 'ping-pong',
          outputMin: 3,
          outputMax: 10,
          speed: 0.6
        },
      },
    }
  ]
}, { disableTelemetry: true })
Props · Posterize
Changes apply to the demo above and to the code tabs. Descriptions come from the library registry (MIT).
Name
Value
Default
Range / options
Description
intensityIntensity
Auto-animated in the demo — moving it pins the value
5
2 – 20 (step 1)
The intensity of the posterization effect (lower is more posterized)
Every component also takes blendMode · opacity · visible · maskSource/maskType · boundingBox · id
It breaks smooth color changes into a few distinct steps, like a printed poster. Edges between tones become more visible than a continuous gradient.
`intensity` defaults to 5 and ranges from 2 to 20. As the registry describes it, lower values make the posterization stronger and reduce the apparent number of color steps.
Apply it over an image or video and check areas where color steps are visible. Reducing the levels too far can erase subtle differences in faces and shadows. When pairing it with Grayscale or Invert, layer order changes the resulting colors.
When to use
Use it to turn a photo into a graphic poster, create an illustration with limited color steps, or make a high-contrast background. Avoid it when subtle facial tones or smooth gradients matter.