Layer stack

레이어 순서

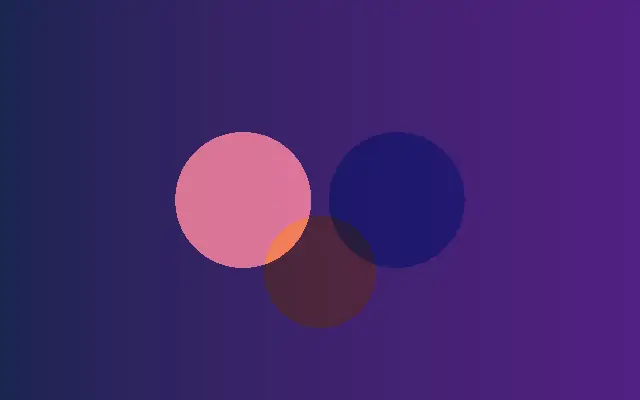
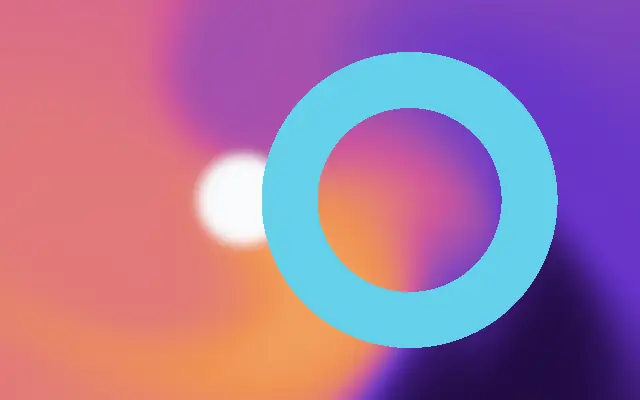
Layers draw from bottom to top, and an effect applies to layers drawn before it.

Also known as: Layer orderLayer stacking

Moves in browsers that support WebGPU

This device could not render the demo — showing a still

React
// Renders only in browsers with WebGPU.
import {
  Shader,
  Blur,
  Circle,
  MeshGradient,
  Ring,
} from 'shaders/react'

export default function ShaderEffect() {
  return (
    <Shader style={{ width: '100%', height: 320 }} disableTelemetry>
      <MeshGradient
        speed={0.4} />
      <Circle
        center={{
          x: 0.38,
          y: 0.5
        }}
        color="#f8fafc"
        radius={0.22} />
      <Blur
        intensity={30} />
      <Ring
        center={{
          x: 0.64,
          y: 0.5
        }}
        color="#22d3ee" />
    </Shader>
  )
}
Vue
<!-- Renders only in browsers with WebGPU. -->
<script setup lang="ts">
import {
  Shader,
  Blur,
  Circle,
  MeshGradient,
  Ring
} from 'shaders/vue'
</script>

<template>
  <Shader style="width: 100%; height: 320px" :disable-telemetry="true">
    <MeshGradient
      :speed="0.4"/>
    <Circle
      :center="{
        x: 0.38,
        y: 0.5
      }"
      color="#f8fafc"
      :radius="0.22"/>
    <Blur
      :intensity="30"/>
    <Ring
      :center="{
        x: 0.64,
        y: 0.5
      }"
      color="#22d3ee"/>
  </Shader>
</template>
Svelte
<!-- Renders only in browsers with WebGPU. -->
<script>
  import {
    Shader,
    Blur,
    Circle,
    MeshGradient,
    Ring,
  } from 'shaders/svelte'
</script>

<Shader style="width: 100%; height: 320px" disableTelemetry>
  <MeshGradient
    speed={0.4} />
  <Circle
    center={{
      x: 0.38,
      y: 0.5
    }}
    color="#f8fafc"
    radius={0.22} />
  <Blur
    intensity={30} />
  <Ring
    center={{
      x: 0.64,
      y: 0.5
    }}
    color="#22d3ee" />
</Shader>
Solid
// Renders only in browsers with WebGPU.
import {
  Shader,
  Blur,
  Circle,
  MeshGradient,
  Ring,
} from 'shaders/solid'

export default function ShaderEffect() {
  return (
    <Shader style={{ width: '100%', height: '320px' }} disableTelemetry>
      <MeshGradient
        speed={0.4} />
      <Circle
        center={{
          x: 0.38,
          y: 0.5
        }}
        color="#f8fafc"
        radius={0.22} />
      <Blur
        intensity={30} />
      <Ring
        center={{
          x: 0.64,
          y: 0.5
        }}
        color="#22d3ee" />
    </Shader>
  )
}
JavaScript
// Renders only in browsers with WebGPU.
// expects <canvas id="canvas" style="width:100%;height:320px"></canvas> on the page
import { createShader } from 'shaders/js'

const shader = await createShader(document.getElementById("canvas"), {
  components: [
    {
      type: 'MeshGradient',
      props: {
        speed: 0.4,
      },
    },
    {
      type: 'Circle',
      props: {
        center: {
          x: 0.38,
          y: 0.5
        },
        color: '#f8fafc',
        radius: 0.22,
      },
    },
    {
      type: 'Blur',
      props: {
        intensity: 30,
      },
    },
    {
      type: 'Ring',
      props: {
        center: {
          x: 0.64,
          y: 0.5
        },
        color: '#22d3ee',
      },
    }
  ]
}, { disableTelemetry: true })

Props · Blur

Changes apply to the demo above and to the code tabs. Descriptions come from the library registry (MIT).

NameValueDefaultRange / optionsDescription
intensityIntensity500 – 200 (step 1)Intensity of the blur effect

Every component also takes blendMode · opacity · visible · maskSource/maskType · boundingBox · id

A shader stack is like transparent sheets laid on top of one another. Earlier entries sit at the bottom and later ones sit above them, so changing the order changes what is covered and how colors combine.

The order of entries in `layers` is the draw order. Lower `opacity` lets earlier layers show through, while `blendMode` changes how colors combine. Use `visible: false` when a layer should not draw but still needs to be referenced.

Effects such as blur or color adjustment process layers drawn before them, so put an effect after its input. If it comes first, there may be nothing to change; stacking too many layers also makes the source of a visual change harder to spot.

When to use

Use it to combine a gradient and particles in a hero background, add blur or color adjustment over an image, or control which visual sits in front. A stack is unnecessary when one layer or a single static image is enough.

Open as page ↗