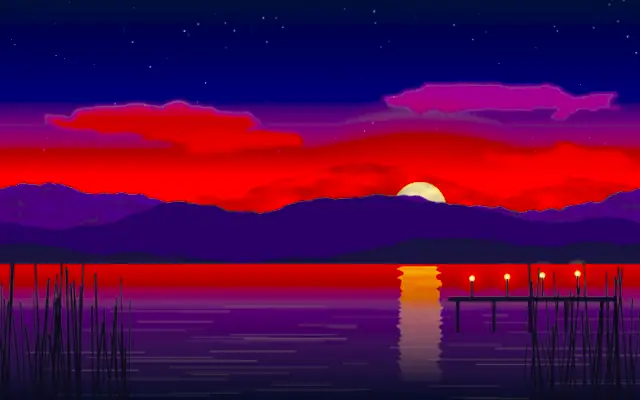
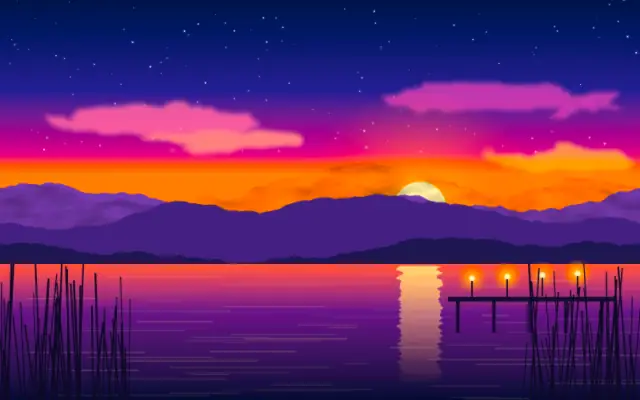
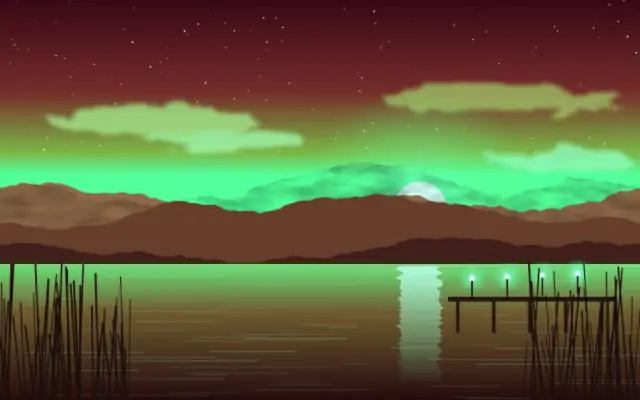
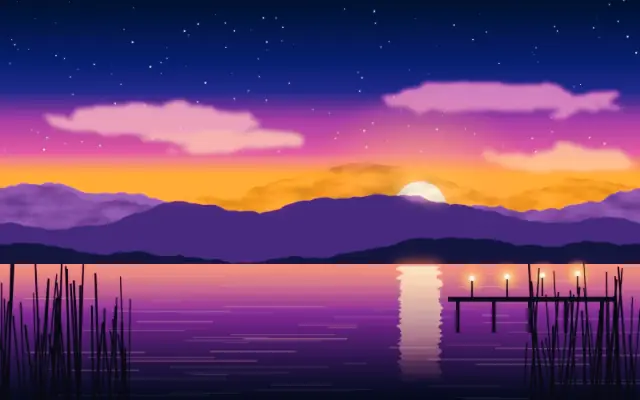
Vibrance selectively increases saturation while protecting skin tones.
Also known as: Vibranceselective saturation
Moves in browsers that support WebGPU
This device could not render the demo — showing a still
Code reflects the control values
React
// Renders only in browsers with WebGPU.
// /samples/… are this site’s sample files — point them at your own image or video.
import { Shader, ImageTexture, Vibrance } from 'shaders/react'

export default function ShaderEffect() {
  return (
    <Shader style={{ width: '100%', height: 320 }} disableTelemetry>
      <ImageTexture
        objectFit="cover"
        url="/samples/photo.jpg" />
      <Vibrance
        intensity={1.6} />
    </Shader>
  )
}
Vue
<!-- Renders only in browsers with WebGPU. -->
<!-- /samples/… are this site’s sample files — point them at your own image or video. -->
<script setup lang="ts">
import { Shader, ImageTexture, Vibrance } from 'shaders/vue'
</script>

<template>
  <Shader style="width: 100%; height: 320px" :disable-telemetry="true">
    <ImageTexture
      object-fit="cover"
      url="/samples/photo.jpg"/>
    <Vibrance
      :intensity="1.6"/>
  </Shader>
</template>
Svelte
<!-- Renders only in browsers with WebGPU. -->
<!-- /samples/… are this site’s sample files — point them at your own image or video. -->
<script>
  import { Shader, ImageTexture, Vibrance } from 'shaders/svelte'
</script>

<Shader style="width: 100%; height: 320px" disableTelemetry>
  <ImageTexture
    objectFit="cover"
    url="/samples/photo.jpg" />
  <Vibrance
    intensity={1.6} />
</Shader>
Solid
// Renders only in browsers with WebGPU.
// /samples/… are this site’s sample files — point them at your own image or video.
import { Shader, ImageTexture, Vibrance } from 'shaders/solid'

export default function ShaderEffect() {
  return (
    <Shader style={{ width: '100%', height: '320px' }} disableTelemetry>
      <ImageTexture
        objectFit="cover"
        url="/samples/photo.jpg" />
      <Vibrance
        intensity={1.6} />
    </Shader>
  )
}
JavaScript
// Renders only in browsers with WebGPU.
// /samples/… are this site’s sample files — point them at your own image or video.
// expects <canvas id="canvas" style="width:100%;height:320px"></canvas> on the page
import { createShader } from 'shaders/js'

const shader = await createShader(document.getElementById("canvas"), {
  components: [
    {
      type: 'ImageTexture',
      props: {
        objectFit: 'cover',
        url: '/samples/photo.jpg',
      },
    },
    {
      type: 'Vibrance',
      props: {
        intensity: 1.6,
      },
    }
  ]
}, { disableTelemetry: true })
Props · Vibrance
Changes apply to the demo above and to the code tabs. Descriptions come from the library registry (MIT).
Name
Value
Default
Range / options
Description
intensityIntensity
0
-2 – 2 (step 0.1)
The intensity of the vibrance effect
Every component also takes blendMode · opacity · visible · maskSource/maskType · boundingBox · id
Rather than pushing every color equally, it brings less vivid colors forward. The adjustment is described as protecting skin tones from the exaggeration of a uniform saturation boost.
`intensity` defaults to 0 and ranges from -2 to 2. Positive values make colors more vivid; negative values reduce them. The registry describes it as a selective saturation adjustment that protects skin tones.
Apply it over a photo or video input. Start subtly when grading portraits or product colors. Large values can still exaggerate the image, so compare it with the regular Saturation effect before choosing.
When to use
Use it to lift color naturally in portraits, strengthen muted product colors, or tune an image without changing all colors equally. Use Saturation when every color should be reduced or increased by the same amount.