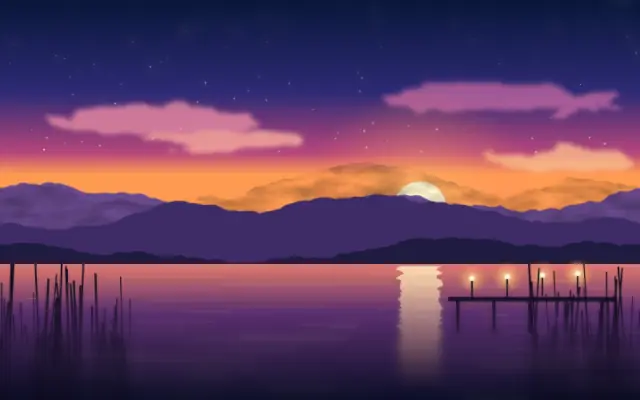
A lens-like blur turns bright highlights into aperture-shaped discs.
Also known as: BokehBlurbokehlens blur
Moves in browsers that support WebGPU
This device could not render the demo — showing a still
Code reflects the control values
React
// Renders only in browsers with WebGPU.
// /samples/… are this site’s sample files — point them at your own image or video.
import { Shader, BokehBlur, ImageTexture } from 'shaders/react'

export default function ShaderEffect() {
  return (
    <Shader style={{ width: '100%', height: 320 }} disableTelemetry>
      <ImageTexture
        objectFit="cover"
        url="/samples/still.jpg" />
      <BokehBlur
        radius={30} />
    </Shader>
  )
}
Vue
<!-- Renders only in browsers with WebGPU. -->
<!-- /samples/… are this site’s sample files — point them at your own image or video. -->
<script setup lang="ts">
import { Shader, BokehBlur, ImageTexture } from 'shaders/vue'
</script>

<template>
  <Shader style="width: 100%; height: 320px" :disable-telemetry="true">
    <ImageTexture
      object-fit="cover"
      url="/samples/still.jpg"/>
    <BokehBlur
      :radius="30"/>
  </Shader>
</template>
Svelte
<!-- Renders only in browsers with WebGPU. -->
<!-- /samples/… are this site’s sample files — point them at your own image or video. -->
<script>
  import { Shader, BokehBlur, ImageTexture } from 'shaders/svelte'
</script>

<Shader style="width: 100%; height: 320px" disableTelemetry>
  <ImageTexture
    objectFit="cover"
    url="/samples/still.jpg" />
  <BokehBlur
    radius={30} />
</Shader>
Solid
// Renders only in browsers with WebGPU.
// /samples/… are this site’s sample files — point them at your own image or video.
import { Shader, BokehBlur, ImageTexture } from 'shaders/solid'

export default function ShaderEffect() {
  return (
    <Shader style={{ width: '100%', height: '320px' }} disableTelemetry>
      <ImageTexture
        objectFit="cover"
        url="/samples/still.jpg" />
      <BokehBlur
        radius={30} />
    </Shader>
  )
}
JavaScript
// Renders only in browsers with WebGPU.
// /samples/… are this site’s sample files — point them at your own image or video.
// expects <canvas id="canvas" style="width:100%;height:320px"></canvas> on the page
import { createShader } from 'shaders/js'

const shader = await createShader(document.getElementById("canvas"), {
  components: [
    {
      type: 'ImageTexture',
      props: {
        objectFit: 'cover',
        url: '/samples/still.jpg',
      },
    },
    {
      type: 'BokehBlur',
      props: {
        radius: 30,
      },
    }
  ]
}, { disableTelemetry: true })
Props · BokehBlur
Changes apply to the demo above and to the code tabs. Descriptions come from the library registry (MIT).
Name
Value
Default
Range / options
Description
radiusRadius
50
0 – 100 (step 1)
Defocus amount — how far the lens blur spreads
highlightGainHighlight Bloom
4
0 – 10 (step 0.1)
How strongly bright highlights bloom into discs
highlightThresholdHighlight Threshold
0.6
0 – 1 (step 0.01)
Brightness above which a highlight forms a disc
bladeShapeBlade Shape
blades
blades · circle · star · heart · flower · cross · ring
Aperture shape the highlights bloom into — bladed iris or a novelty cut-out (heart, star, …)
bladeCountAperture Blades
6
0 – 9 (step 1)
Blade or point count for the Blades, Star and Flower shapes — 0–2 blades is a circular iris
bladeRotationBlade Rotation
0
0 – 360 (step 1)
Rotation of the aperture shape (in degrees)
chromaticFringeChromatic Fringe
0.2
0 – 1 (step 0.01)
Lens color fringing on the disc edges
Every component also takes blendMode · opacity · visible · maskSource/maskType · boundingBox · id
It creates the bokeh seen in a photograph when out-of-focus lights spread into aperture-shaped discs. Bright points in the background take on the aperture shape.
`radius` defaults to 50 and ranges from 0 to 100 to set the blur spread. `highlightGain` defaults to 4 and ranges from 0 to 10 to brighten the discs. `highlightThreshold` defaults to 0.6 and ranges from 0 to 1 to set which highlights form discs. `bladeCount` defaults to 6 and ranges from 0 to 9 to set the aperture blade count, while `chromaticFringe` defaults to 0.2 and ranges from 0 to 1 to control color fringing at the edges.
Place it over an image or video input; point lights help the bokeh discs show up. The effect may look subtle when there are few highlights, and too much color fringing can muddy detail, so try it on a background first.
When to use
Use it on night lights, portraits with a soft background, or a lens-like backdrop. Consider another blur when the input has few bright highlights.