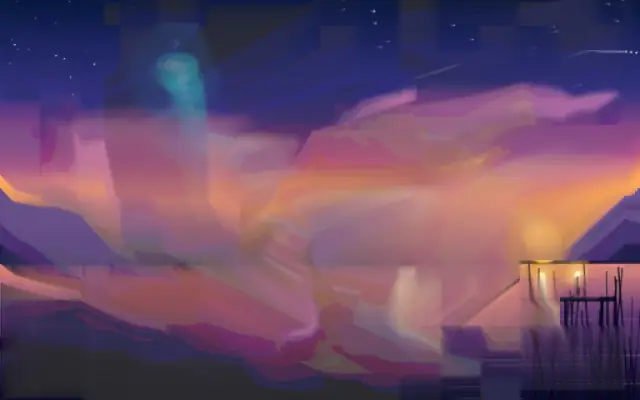
Locks parts of the image into blocks that drag into pixel trails, like video whose keyframes have failed.
Also known as: DataMoshdatamoshingcodec glitch
Moves in browsers that support WebGPU
This device could not render the demo — showing a still
Code reflects the control values
React
// Renders only in browsers with WebGPU.
// /samples/… are this site’s sample files — point them at your own image or video.
import { Shader, DataMosh, VideoTexture } from 'shaders/react'

export default function ShaderEffect() {
  return (
    <Shader style={{ width: '100%', height: 320 }} disableTelemetry>
      <VideoTexture
        objectFit="cover"
        url="/samples/clip.mp4" />
      <DataMosh />
    </Shader>
  )
}
Vue
<!-- Renders only in browsers with WebGPU. -->
<!-- /samples/… are this site’s sample files — point them at your own image or video. -->
<script setup lang="ts">
import { Shader, DataMosh, VideoTexture } from 'shaders/vue'
</script>

<template>
  <Shader style="width: 100%; height: 320px" :disable-telemetry="true">
    <VideoTexture
      object-fit="cover"
      url="/samples/clip.mp4"/>
    <DataMosh/>
  </Shader>
</template>
Svelte
<!-- Renders only in browsers with WebGPU. -->
<!-- /samples/… are this site’s sample files — point them at your own image or video. -->
<script>
  import { Shader, DataMosh, VideoTexture } from 'shaders/svelte'
</script>

<Shader style="width: 100%; height: 320px" disableTelemetry>
  <VideoTexture
    objectFit="cover"
    url="/samples/clip.mp4" />
  <DataMosh />
</Shader>
Solid
// Renders only in browsers with WebGPU.
// /samples/… are this site’s sample files — point them at your own image or video.
import { Shader, DataMosh, VideoTexture } from 'shaders/solid'

export default function ShaderEffect() {
  return (
    <Shader style={{ width: '100%', height: '320px' }} disableTelemetry>
      <VideoTexture
        objectFit="cover"
        url="/samples/clip.mp4" />
      <DataMosh />
    </Shader>
  )
}
JavaScript
// Renders only in browsers with WebGPU.
// /samples/… are this site’s sample files — point them at your own image or video.
// expects <canvas id="canvas" style="width:100%;height:320px"></canvas> on the page
import { createShader } from 'shaders/js'

const shader = await createShader(document.getElementById("canvas"), {
  components: [
    {
      type: 'VideoTexture',
      props: {
        objectFit: 'cover',
        url: '/samples/clip.mp4',
      },
    },
    {
      type: 'DataMosh',
    }
  ]
}, { disableTelemetry: true })
Props · DataMosh
Changes apply to the demo above and to the code tabs. Descriptions come from the library registry (MIT).
Name
Value
Default
Range / options
Description
intensityIntensity
0.7
0 – 1 (step 0.01)
How much of the image locks and smears — the fraction of corrupted macroblocks
blockSizeBlock Size
48
30 – 150 (step 1)
Macroblock size — the granularity of the corruption
driftDrift
0.35
0 – 1 (step 0.01)
Motion vector strength — how fast corrupted areas drag their pixels away
churnChurn
0.4
0 – 1 (step 0.01)
How often each block re-rolls its fate — low values let corrupted regions melt for a long time before recovering
blendBlend
1
0 – 1 (step 0.01)
Blend between the live image and the moshed stream
speedSpeed
1
0 – 4 (step 0.1)
Simulation speed. 0 freezes the decay in place.
seedSeed
0
0 – 100 (step 1)
Random seed for the corruption layout
Every component also takes blendMode · opacity · visible · maskSource/maskType · boundingBox · id
It feels as though parts of a video frame stay in place and get dragged by the next movement. Like wet paint pulled across the screen, blocks and colors stretch into trails.
`intensity` defaults to 0.7 and ranges from 0 to 1 to change how much of the frame is corrupted. `blockSize` defaults to 48 and ranges from 30 to 150, while `drift` defaults to 0.35 and ranges from 0 to 1 to set block size and how far pixels are dragged. `churn` defaults to 0.4 and ranges from 0 to 1 to set how often blocks change, and `speed` defaults to 1 and ranges from 0 to 4 to control simulation speed.
It needs an image or video beneath it to leave visible trails. Pair it with `VHS` or `Glitch` for damaged-broadcast styling, but keep the motion restrained when small text, logos, or precise outlines matter.
When to use
Use it for a brief, strong impression in music videos, transitions, or animated cover art. Avoid it where captions or logos need to remain readable for long.