렌즈 왜곡

Lens Distortion

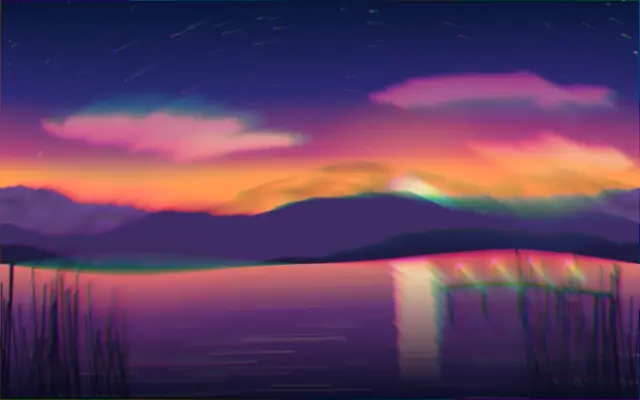
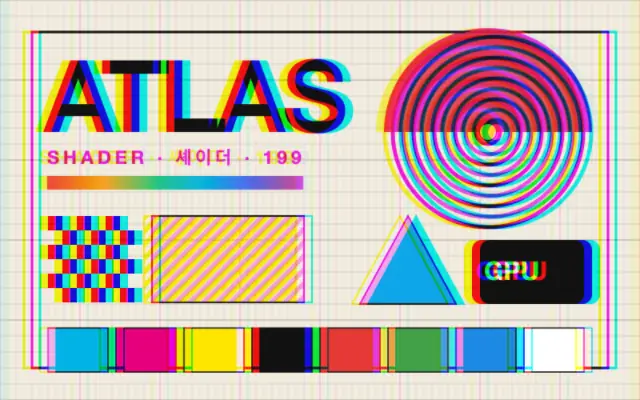
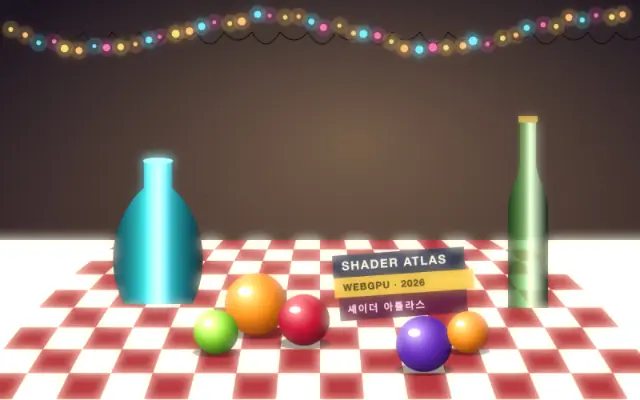
렌즈처럼 화면을 볼록하게 밀거나 오목하게 당기면서 색을 여러 겹으로 분리합니다.

다른 이름: LensDistortionBarrel distortionPincushion distortionLens warp

WebGPU 를 지원하는 브라우저에서 움직입니다

이 기기에서는 데모를 그리지 못해 정지 화면을 보여 줍니다

React
// WebGPU 를 지원하는 브라우저에서만 그립니다.
// /samples/… 는 이 사이트의 샘플 파일입니다. 내 프로젝트의 이미지·영상 경로로 바꾸세요.
import { Shader, ImageTexture, LensDistortion } from 'shaders/react'

export default function ShaderEffect() {
  return (
    <Shader style={{ width: '100%', height: 320 }} disableTelemetry>
      <ImageTexture
        objectFit="cover"
        url="/samples/photo.jpg" />
      <LensDistortion />
    </Shader>
  )
}
Vue
<!-- WebGPU 를 지원하는 브라우저에서만 그립니다. -->
<!-- /samples/… 는 이 사이트의 샘플 파일입니다. 내 프로젝트의 이미지·영상 경로로 바꾸세요. -->
<script setup lang="ts">
import { Shader, ImageTexture, LensDistortion } from 'shaders/vue'
</script>

<template>
  <Shader style="width: 100%; height: 320px" :disable-telemetry="true">
    <ImageTexture
      object-fit="cover"
      url="/samples/photo.jpg"/>
    <LensDistortion/>
  </Shader>
</template>
Svelte
<!-- WebGPU 를 지원하는 브라우저에서만 그립니다. -->
<!-- /samples/… 는 이 사이트의 샘플 파일입니다. 내 프로젝트의 이미지·영상 경로로 바꾸세요. -->
<script>
  import { Shader, ImageTexture, LensDistortion } from 'shaders/svelte'
</script>

<Shader style="width: 100%; height: 320px" disableTelemetry>
  <ImageTexture
    objectFit="cover"
    url="/samples/photo.jpg" />
  <LensDistortion />
</Shader>
Solid
// WebGPU 를 지원하는 브라우저에서만 그립니다.
// /samples/… 는 이 사이트의 샘플 파일입니다. 내 프로젝트의 이미지·영상 경로로 바꾸세요.
import { Shader, ImageTexture, LensDistortion } from 'shaders/solid'

export default function ShaderEffect() {
  return (
    <Shader style={{ width: '100%', height: '320px' }} disableTelemetry>
      <ImageTexture
        objectFit="cover"
        url="/samples/photo.jpg" />
      <LensDistortion />
    </Shader>
  )
}
JavaScript
// WebGPU 를 지원하는 브라우저에서만 그립니다.
// /samples/… 는 이 사이트의 샘플 파일입니다. 내 프로젝트의 이미지·영상 경로로 바꾸세요.
// <canvas id="canvas" style="width:100%;height:320px"></canvas> 가 페이지에 있어야 한다
import { createShader } from 'shaders/js'

const shader = await createShader(document.getElementById("canvas"), {
  components: [
    {
      type: 'ImageTexture',
      props: {
        objectFit: 'cover',
        url: '/samples/photo.jpg',
      },
    },
    {
      type: 'LensDistortion',
    }
  ]
}, { disableTelemetry: true })

속성(props) · LensDistortion

값을 바꾸면 위 데모와 코드 탭에 바로 반영됩니다. 설명은 라이브러리 레지스트리의 영어 원문(MIT)입니다.

이름값기본값범위·선택지설명(원문)
centerCenter
x0.5y0.5
{"x":0.5,"y":0.5}x, y: 0 – 1The center point of the lens effect — the focus zone, lens warp, circle crop and swirl all pivot around it
spreadSpread0.60 – 1 (step 0.01)Strength of the color split; how far the color layers are pushed apart (0 is off)
angleAngle00 – 360 (step 1)Direction of the spread in degrees
perspectivePerspective0.10 – 1 (step 0.01)Shapes the spread direction from a straight line (0) to a radial burst out from the centre (1)
biasBias1-1 – 1 (step 0.01)Shifts the colors toward one end of the spread; 0 spaces them evenly
countCount352 – 50 (step 1)Number of sampled color layers along the spread; higher is smoother and costlier
dispersionDispersion10 – 1 (step 0.01)Overall amount of color dispersion; 1 gives each layer its own color from the spectrum, 0 keeps the original color
dispersionShiftShift0-1 – 1 (step 0.01)Balance of the dispersion between a soft circular zone at the centre and the rest; -1 keeps it in the centre only, 1 at the edges only
dispersionColorHue0.60 – 1 (step 0.01)Rotates the dispersion colors around the hue wheel, 0 to 1 for a full turn
focusCenterFocus Center0.80 – 1 (step 0.01)Reduces the spread in a circular zone at the centre; 0 keeps it full to the centre
focusEdgesFocus Edges10 – 1 (step 0.01)Reduces the spread toward the edges; 1 restores the original image there
lensBulgeBulge0-1 – 1 (step 0.01)Radial lens warp; positive bulges out like a fisheye, negative pinches in like a pincushion
lensCircleCircle00 – 1 (step 0.01)Squeezes pixels outside the inscribed circle inward so the outline becomes a circle
swirlSwirl0.35-1 – 1 (step 0.01)Rotates the color layers around the centre by an angle growing along the spread; 0 is off
noiseNoise00 – 1 (step 0.01)Scatters the spread direction with noise; 0 is off
noiseFrequencyFrequency0.250 – 1 (step 0.01)Frequency of the direction noise; higher is finer (no effect with noise at 0)
noiseOffsetSeed00 – 1 (step 0.01)Offsets the noise pattern for a different seed (no effect with noise at 0)
grainMixerGrain Mixer00 – 1 (step 0.01)Scatters the spread with grain noise, breaking up the edges of the color layers
grainOverlayGrain Overlay00 – 1 (step 0.01)Post-processing black/white grain overlay

모든 컴포넌트 공통: blendMode · opacity · visible · maskSource/maskType · boundingBox · id

화면을 어항 유리 너머로 보거나 가장자리를 안쪽으로 당겨 놓은 듯한 원근 왜곡과 색 테두리가 함께 생깁니다. 실제 광각 렌즈의 배럴 왜곡과 망원 렌즈의 핀쿠션 왜곡을 떠올리면 됩니다.

`spread`는 기본 0.6, 범위 0–1로 색 층이 벌어지는 폭을 조절합니다. `perspective`는 기본 0.1, 범위 0–1이며 0에 가까우면 한 방향으로, 1에 가까우면 중심에서 방사형으로 퍼집니다. `lensBulge`는 기본 0, 범위 -1–1로 양수면 어안처럼 볼록하게, 음수면 핀쿠션처럼 오목하게 왜곡합니다. `count`는 기본 35, 범위 2–50으로 색 층의 수를 정해 값을 올리면 더 매끈해지지만 비용도 늘어납니다.

이미지나 영상 위에 적용해야 하며, 중심과 가장자리에 형태가 있는 장면에서 왜곡이 읽힙니다. 포스터나 배경에는 어울리지만, 직선·작은 글자가 중요한 UI에서는 왜곡과 색 분리를 약하게 두세요.

언제 쓰나

광각 렌즈나 어안 카메라 같은 화면, 사이키델릭한 포스터, 시선을 중심으로 모으는 배경에 씁니다. 정렬된 UI나 왜곡에 민감한 도표에는 피하세요.

페이지로 열기 ↗