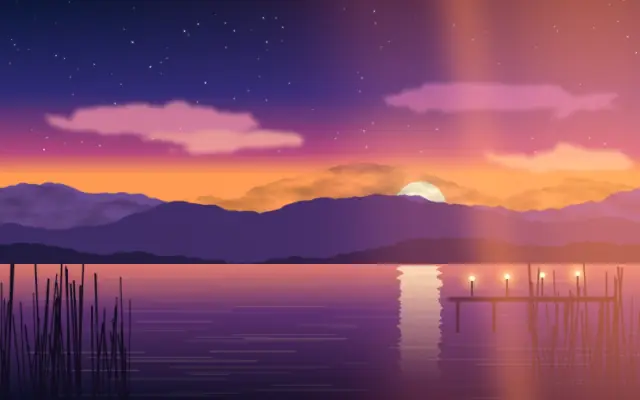
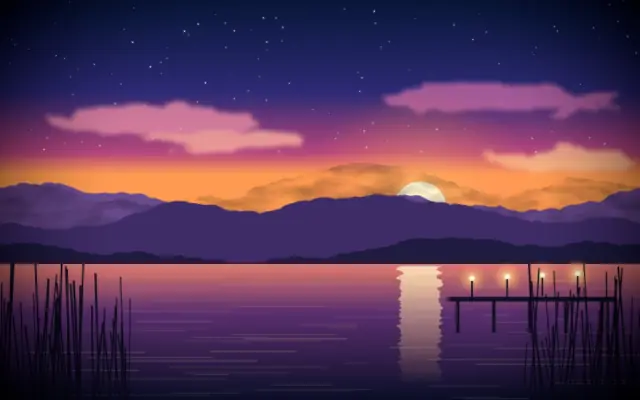
Adds warm, overexposed light that appears to leak into the frame from a film edge.
Also known as: LightLeakFilm light leakFilm burn
Moves in browsers that support WebGPU
This device could not render the demo — showing a still
Code reflects the control values
React
// Renders only in browsers with WebGPU.
// /samples/… are this site’s sample files — point them at your own image or video.
import { Shader, ImageTexture, LightLeak } from 'shaders/react'

export default function ShaderEffect() {
  return (
    <Shader style={{ width: '100%', height: 320 }} disableTelemetry>
      <ImageTexture
        objectFit="cover"
        url="/samples/photo.jpg" />
      <LightLeak />
    </Shader>
  )
}
Vue
<!-- Renders only in browsers with WebGPU. -->
<!-- /samples/… are this site’s sample files — point them at your own image or video. -->
<script setup lang="ts">
import { Shader, ImageTexture, LightLeak } from 'shaders/vue'
</script>

<template>
  <Shader style="width: 100%; height: 320px" :disable-telemetry="true">
    <ImageTexture
      object-fit="cover"
      url="/samples/photo.jpg"/>
    <LightLeak/>
  </Shader>
</template>
Svelte
<!-- Renders only in browsers with WebGPU. -->
<!-- /samples/… are this site’s sample files — point them at your own image or video. -->
<script>
  import { Shader, ImageTexture, LightLeak } from 'shaders/svelte'
</script>

<Shader style="width: 100%; height: 320px" disableTelemetry>
  <ImageTexture
    objectFit="cover"
    url="/samples/photo.jpg" />
  <LightLeak />
</Shader>
Solid
// Renders only in browsers with WebGPU.
// /samples/… are this site’s sample files — point them at your own image or video.
import { Shader, ImageTexture, LightLeak } from 'shaders/solid'

export default function ShaderEffect() {
  return (
    <Shader style={{ width: '100%', height: '320px' }} disableTelemetry>
      <ImageTexture
        objectFit="cover"
        url="/samples/photo.jpg" />
      <LightLeak />
    </Shader>
  )
}
JavaScript
// Renders only in browsers with WebGPU.
// /samples/… are this site’s sample files — point them at your own image or video.
// expects <canvas id="canvas" style="width:100%;height:320px"></canvas> on the page
import { createShader } from 'shaders/js'

const shader = await createShader(document.getElementById("canvas"), {
  components: [
    {
      type: 'ImageTexture',
      props: {
        objectFit: 'cover',
        url: '/samples/photo.jpg',
      },
    },
    {
      type: 'LightLeak',
    }
  ]
}, { disableTelemetry: true })
Props · LightLeak
Changes apply to the demo above and to the code tabs. Descriptions come from the library registry (MIT).
Name
Value
Default
Range / options
Description
positionPosition
xy
{"x":0.95,"y":0.4}
x, y: 0 – 1
Anchor point of the leak — the light beams from here toward the canvas centre
spreadSpread
0.55
0.1 – 1.5 (step 0.01)
How far the light bleeds into the frame
intensityIntensity
0.15
0 – 1 (step 0.01)
Exposure strength of the leak
streaksStreaks
0.6
0 – 1 (step 0.01)
Strength of the parallel streak bands further into the frame
colorHotHot Core
#fff3c4
—
Core color where the leak is fully overexposed
colorMidMidtone
#ff7a2f
—
Main body color of the leak
colorFringeFringe
#a63d8f
—
Outer fringe color where the light fades out
flickerFlicker
0.35
0 – 1 (step 0.01)
Breathing of the leak intensity
speedSpeed
1
0 – 4 (step 0.1)
Speed of the breathing, drift and evolution. 0 freezes the leak.
seedSeed
0
0 – 100 (step 1)
Random seed — re-rolls the drift and breathing pattern
Every component also takes blendMode · opacity · visible · maskSource/maskType · boundingBox · id
Warm orange light blooms in from one side as if it were burning into the frame. Picture a light leak on faded film or an accidental exposure during development.
`position` defaults to {x: 0.95, y: 0.4} and anchors the leak, which beams toward the center. `spread` defaults to 0.55 (range 0.1–1.5) and controls its reach; `intensity` defaults to 0.15 (0–1) and sets exposure strength. `streaks` defaults to 0.6 (0–1) and adds parallel bands, while `flicker` defaults to 0.35 (0–1) controls the breathing change in the light.
Place it over an image or video; a photo with open space on one side makes the direction easier to read. It can pair with film grain or a subtle chromatic aberration, but start gently so bright areas do not cover titles or body text.
When to use
Use it for film-like photos and video, warm accents in music or culture posters, and brief transition flashes. Avoid it on information-dense screens or where bright light would cover text.