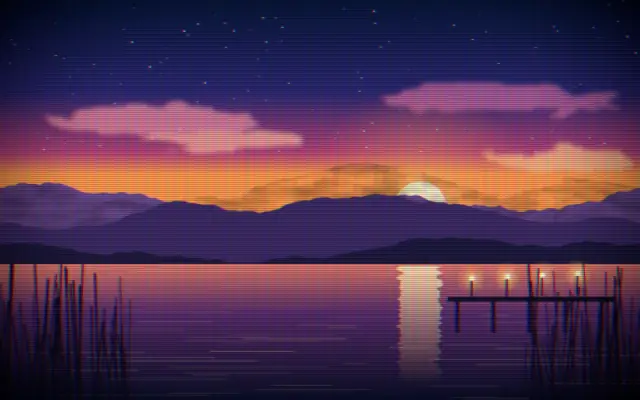
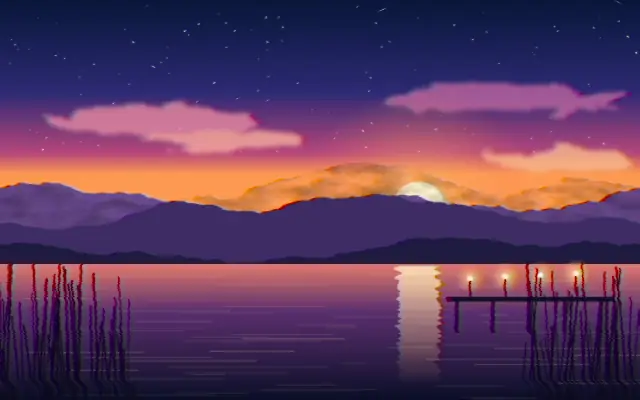
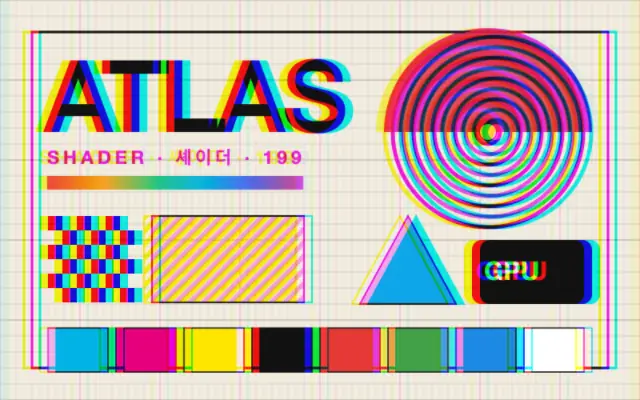
Adds RGB phosphor stripes, horizontal scanlines, and darkened corners for a CRT monitor look.
Also known as: CRTScreenCRT monitorscanlines
Moves in browsers that support WebGPU
This device could not render the demo — showing a still
Code reflects the control values
React
// Renders only in browsers with WebGPU.
// /samples/… are this site’s sample files — point them at your own image or video.
import { Shader, CRTScreen, ImageTexture } from 'shaders/react'

export default function ShaderEffect() {
  return (
    <Shader style={{ width: '100%', height: 320 }} disableTelemetry>
      <ImageTexture
        objectFit="cover"
        url="/samples/photo.jpg" />
      <CRTScreen />
    </Shader>
  )
}
Vue
<!-- Renders only in browsers with WebGPU. -->
<!-- /samples/… are this site’s sample files — point them at your own image or video. -->
<script setup lang="ts">
import { Shader, CRTScreen, ImageTexture } from 'shaders/vue'
</script>

<template>
  <Shader style="width: 100%; height: 320px" :disable-telemetry="true">
    <ImageTexture
      object-fit="cover"
      url="/samples/photo.jpg"/>
    <CRTScreen/>
  </Shader>
</template>
Svelte
<!-- Renders only in browsers with WebGPU. -->
<!-- /samples/… are this site’s sample files — point them at your own image or video. -->
<script>
  import { Shader, CRTScreen, ImageTexture } from 'shaders/svelte'
</script>

<Shader style="width: 100%; height: 320px" disableTelemetry>
  <ImageTexture
    objectFit="cover"
    url="/samples/photo.jpg" />
  <CRTScreen />
</Shader>
Solid
// Renders only in browsers with WebGPU.
// /samples/… are this site’s sample files — point them at your own image or video.
import { Shader, CRTScreen, ImageTexture } from 'shaders/solid'

export default function ShaderEffect() {
  return (
    <Shader style={{ width: '100%', height: '320px' }} disableTelemetry>
      <ImageTexture
        objectFit="cover"
        url="/samples/photo.jpg" />
      <CRTScreen />
    </Shader>
  )
}
JavaScript
// Renders only in browsers with WebGPU.
// /samples/… are this site’s sample files — point them at your own image or video.
// expects <canvas id="canvas" style="width:100%;height:320px"></canvas> on the page
import { createShader } from 'shaders/js'

const shader = await createShader(document.getElementById("canvas"), {
  components: [
    {
      type: 'ImageTexture',
      props: {
        objectFit: 'cover',
        url: '/samples/photo.jpg',
      },
    },
    {
      type: 'CRTScreen',
    }
  ]
}, { disableTelemetry: true })
Props · CRTScreen
Changes apply to the demo above and to the code tabs. Descriptions come from the library registry (MIT).
Name
Value
Default
Range / options
Description
pixelSizePixel Size
128
8 – 128 (step 1)
Density of the RGB phosphor stripes — about half this many across the canvas width (higher = smaller, finer pixels)
colorShiftColor Shift
1
0 – 10 (step 0.1)
Chromatic aberration amount
scanlineIntensityScanline Intensity
0.3
0 – 1 (step 0.1)
Strength of horizontal scanlines
scanlineFrequencyScanline Frequency
200
100 – 800 (step 10)
Number of scanlines across screen
brightnessBrightness
1
0.5 – 2 (step 0.1)
Screen brightness boost
contrastContrast
1
0.5 – 2 (step 0.1)
Screen contrast enhancement
vignetteIntensityVignette Intensity
1
0 – 1 (step 0.1)
Strength of corner darkening effect (0 = off)
vignetteRadiusVignette Radius
0.5
0 – 1 (step 0.01)
How far the vignette extends inward (0 = edges only, 1 = reaches center)
Every component also takes blendMode · opacity · visible · maskSource/maskType · boundingBox · id
It feels like a CRT glass surface and phosphor pixel grid laid over the picture. Think of the scanlines and color fringing visible when an old game screen is filmed.
`pixelSize` defaults to 128 and ranges from 8 to 128; higher values make the RGB stripes finer. `scanlineIntensity` defaults to 0.3 and ranges from 0 to 1, while `scanlineFrequency` defaults to 200 and ranges from 100 to 800 to set scanline strength and count. `colorShift` defaults to 1 and ranges from 0 to 10, and `vignetteIntensity` defaults to 1 and ranges from 0 to 1 to adjust color separation and dark corners.
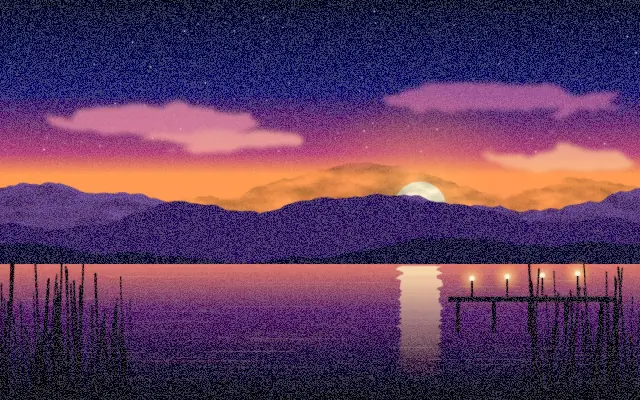
It needs an image or video layer underneath. Pair it with `VHS` or `FilmGrain` for aged footage, but strong scanlines and color separation can blur small text and UI edges.
When to use
Use it for retro game screens, music-video backgrounds, and posters that imitate analog displays. Avoid it when small interface details or numbers must remain easy to read.